

Welcome to sproof Sign!
As a plan admin you manage your organization's sproof Sign account. This guide helps you set up and use your plan optimally.
In sproof Sign a distinction is made between general settings and settings in permissions and role management.
-
General settings:
These settings affect the entire plan at a higher level and apply to all users. They set the basic rules that apply to every member in your plan, regardless of their individual role. -
Settings in permissions and role management:
These settings only affect certain groups of users with a specific role. They determine which actions a person can perform in a given context (e.g., when signing documents).
→ For general information, such as system requirements and first steps in sproof Sign, please see the Getting Started: General guide.
📖 General Settings
License & Team
Under Settings > License & Team you will find an overview of your licenses and team members. You can see how many user instances (annual licenses) and User+ upgrades are included in your plan and how many of them are already in use.
You can add additional users or upgrades at any time. Billing is prorated until the end of the current term. The monthly additional costs will be shown on the dashboard before purchase.
Here you can also view your signature quotas. A progress bar on the dashboard shows your current usage. You can purchase additional signatures, but not all signature types can be repurchased. As soon as your quota falls below 10%, the registered admin email address will be notified automatically.
→ More information is available in the module Getting Started: For Plan Owners.
Plan Settings
In the plan settings you can make advanced configurations for the entire plan. These settings influence how all members use and interact with the platform.
→ For more details see our module “Plan Settings”.
Deletion Policy
Under Settings > Deletion Policy you can define an automatic deletion policy: you can specify whether documents should be deleted after a certain number of days or retained indefinitely. This rule can be applied separately for completed documents, pending documents and drafts. This central setting overrides all individual user preferences.
→ The exact instructions can be found in the module “Deletion Policy”.
Notifications
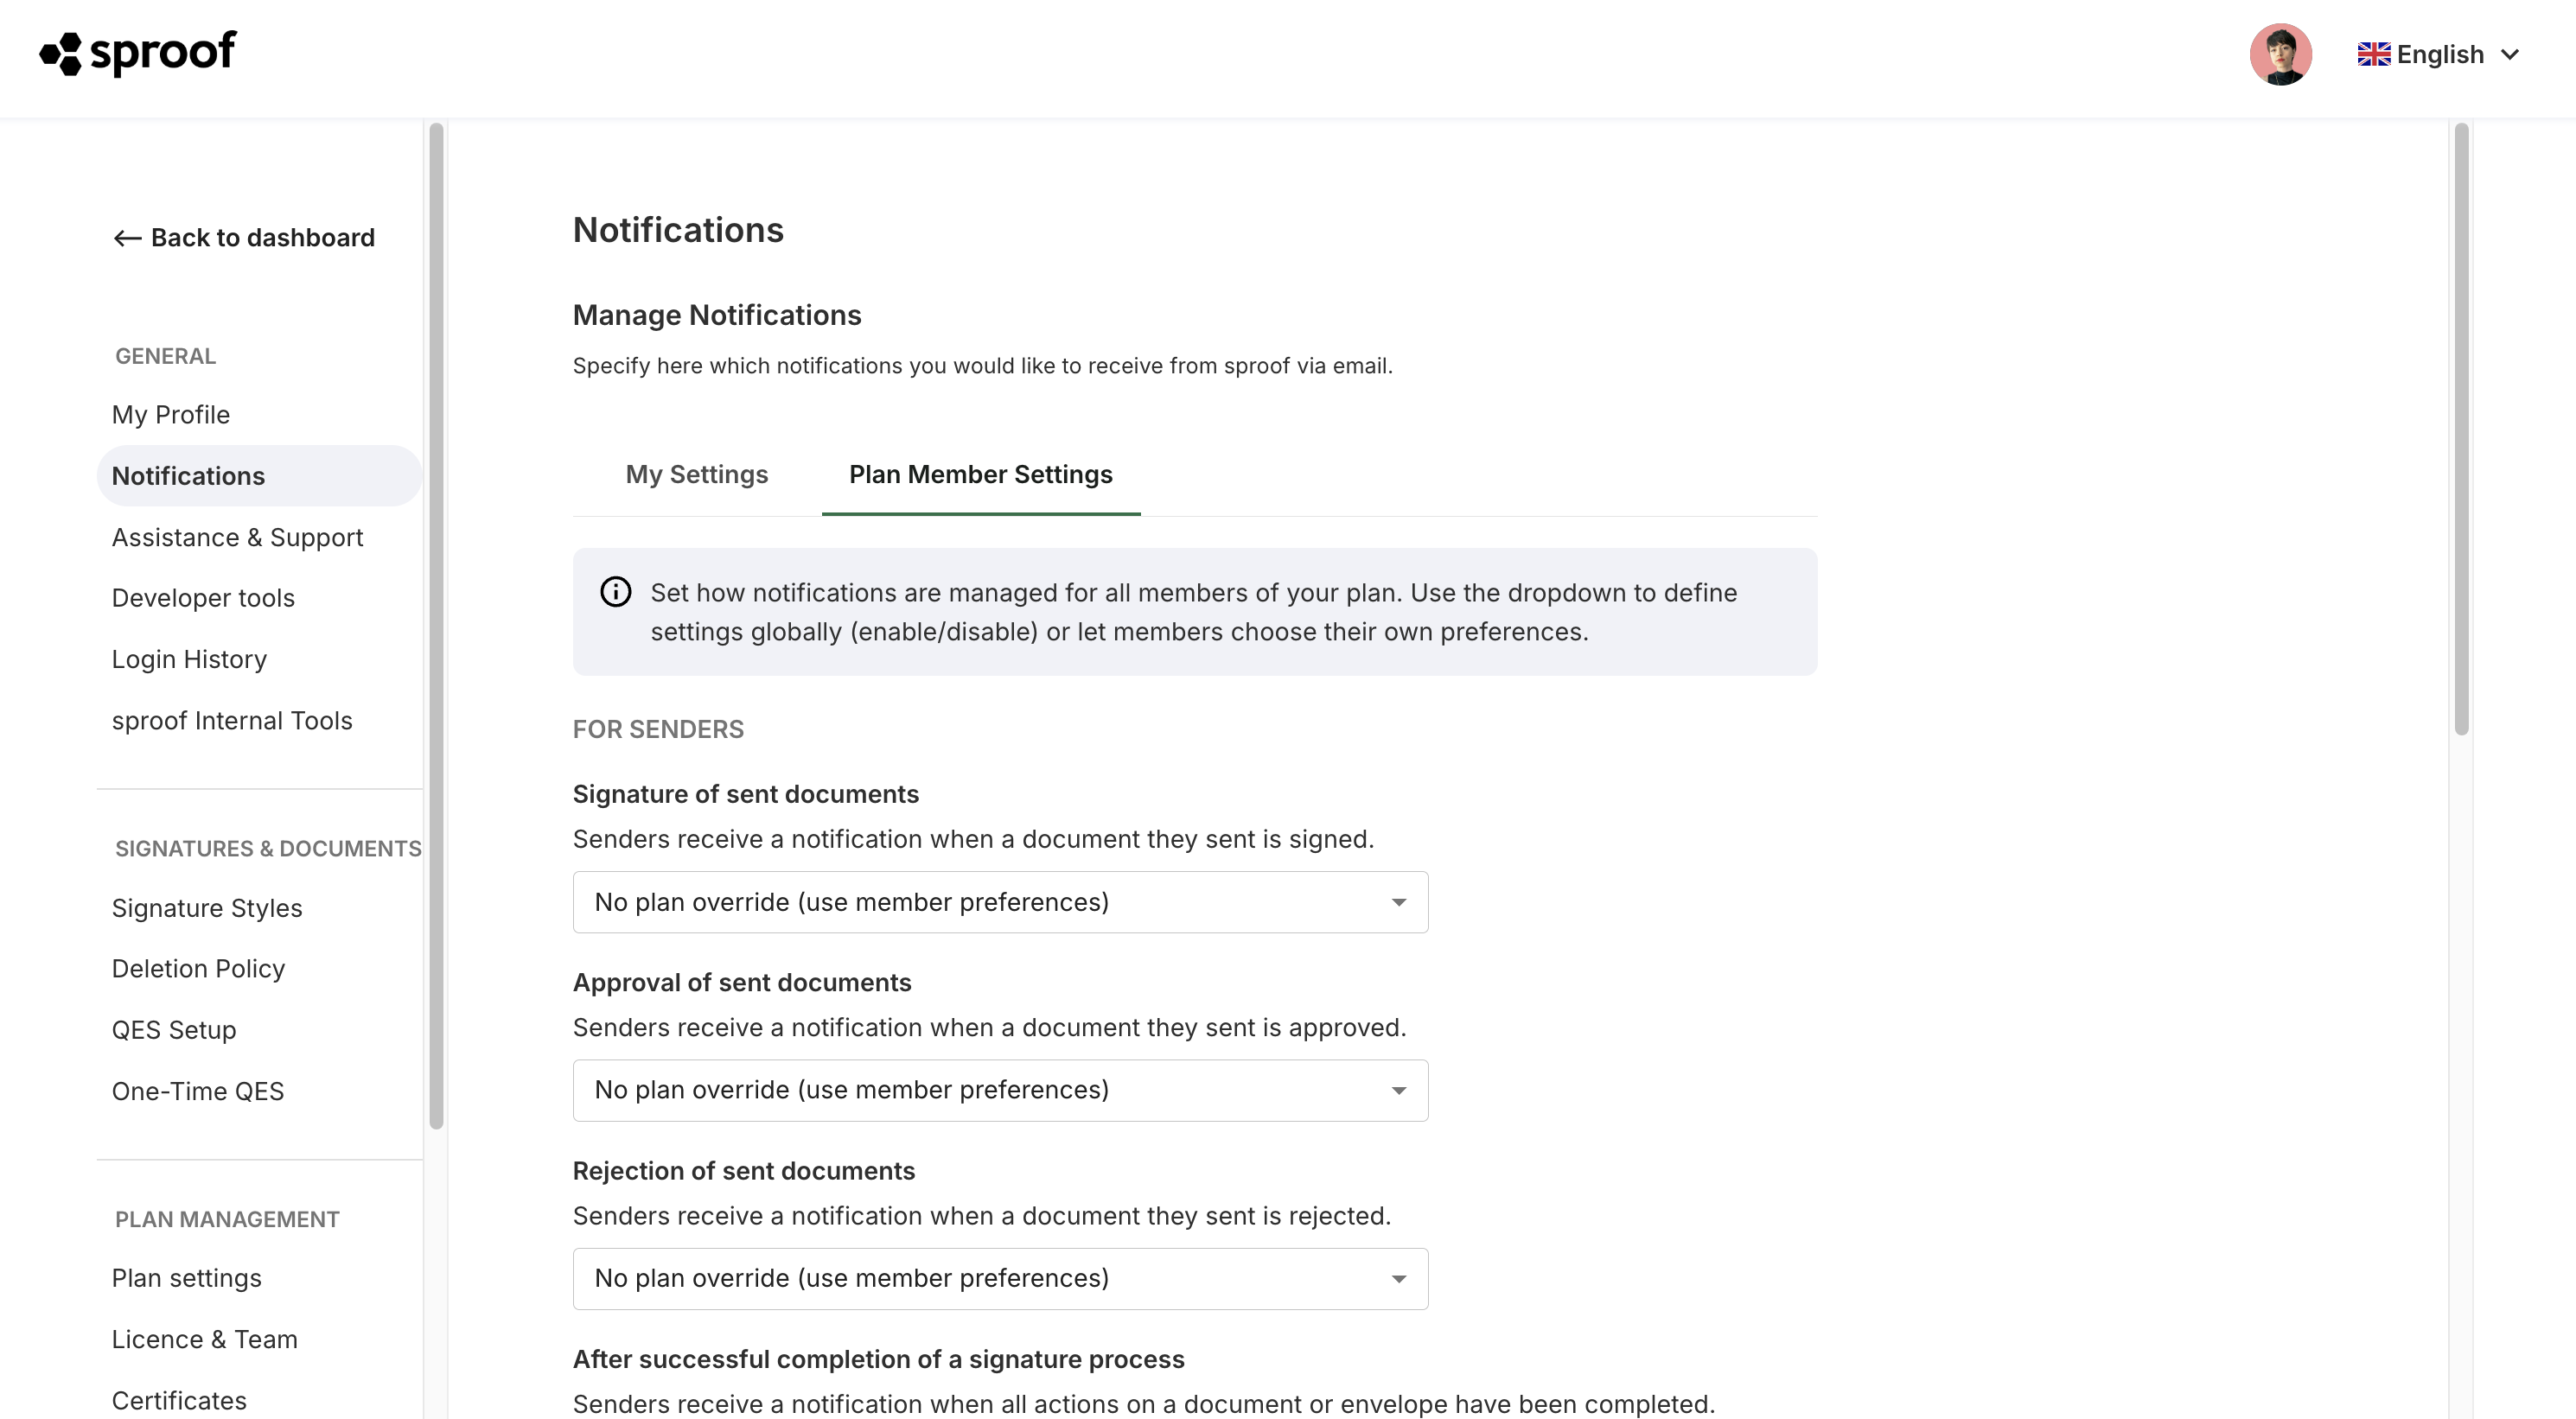
Under Settings > Notifications > Settings for Team Members you as an admin can set global email notification settings for your team. These settings override the individual preferences of team members. For example, you can disable marketing activities within the application and product emails from sproof for your team members.
→ Read more in the module “Setting up Notifications (Entire Plan)”.
Developer Tools
sproof Sign includes special developer tools that allow you to seamlessly integrate the platform into your own systems.
With the sproof Sign API you can automate a wide range of processes. You can request signatures, use batch signing, use workflows for obtaining signatures and verify the validity of signatures. It is also possible to embed the Fastlane user interface and a signature widget directly into your website.
→ Read our “For Developers” module to learn all the basic prerequisites and core concepts you need to successfully interact with the sproof API later.
📑 Advanced Settings
The advanced Enterprise features can only be viewed and used if they are enabled for your plan. All these features are listed below. If you cannot view one of the described features, please contact our customer support team to evaluate the possibilities and, if necessary, activate the feature.
📧 Contact: support@sproof.com
🤝 We look forward to your inquiry!
Role Management
As an admin, under Settings > License & Team > Role Management you can configure advanced roles and permissions for plan members.
sproof Sign offers five predefined roles: Administrator, Developer, Sender, Signer and Standard. In addition, you can define your own custom roles to meet the specific requirements of your company.
→ A detailed explanation can be found in the module “Rights & Role Management”.
Global Signature Styles
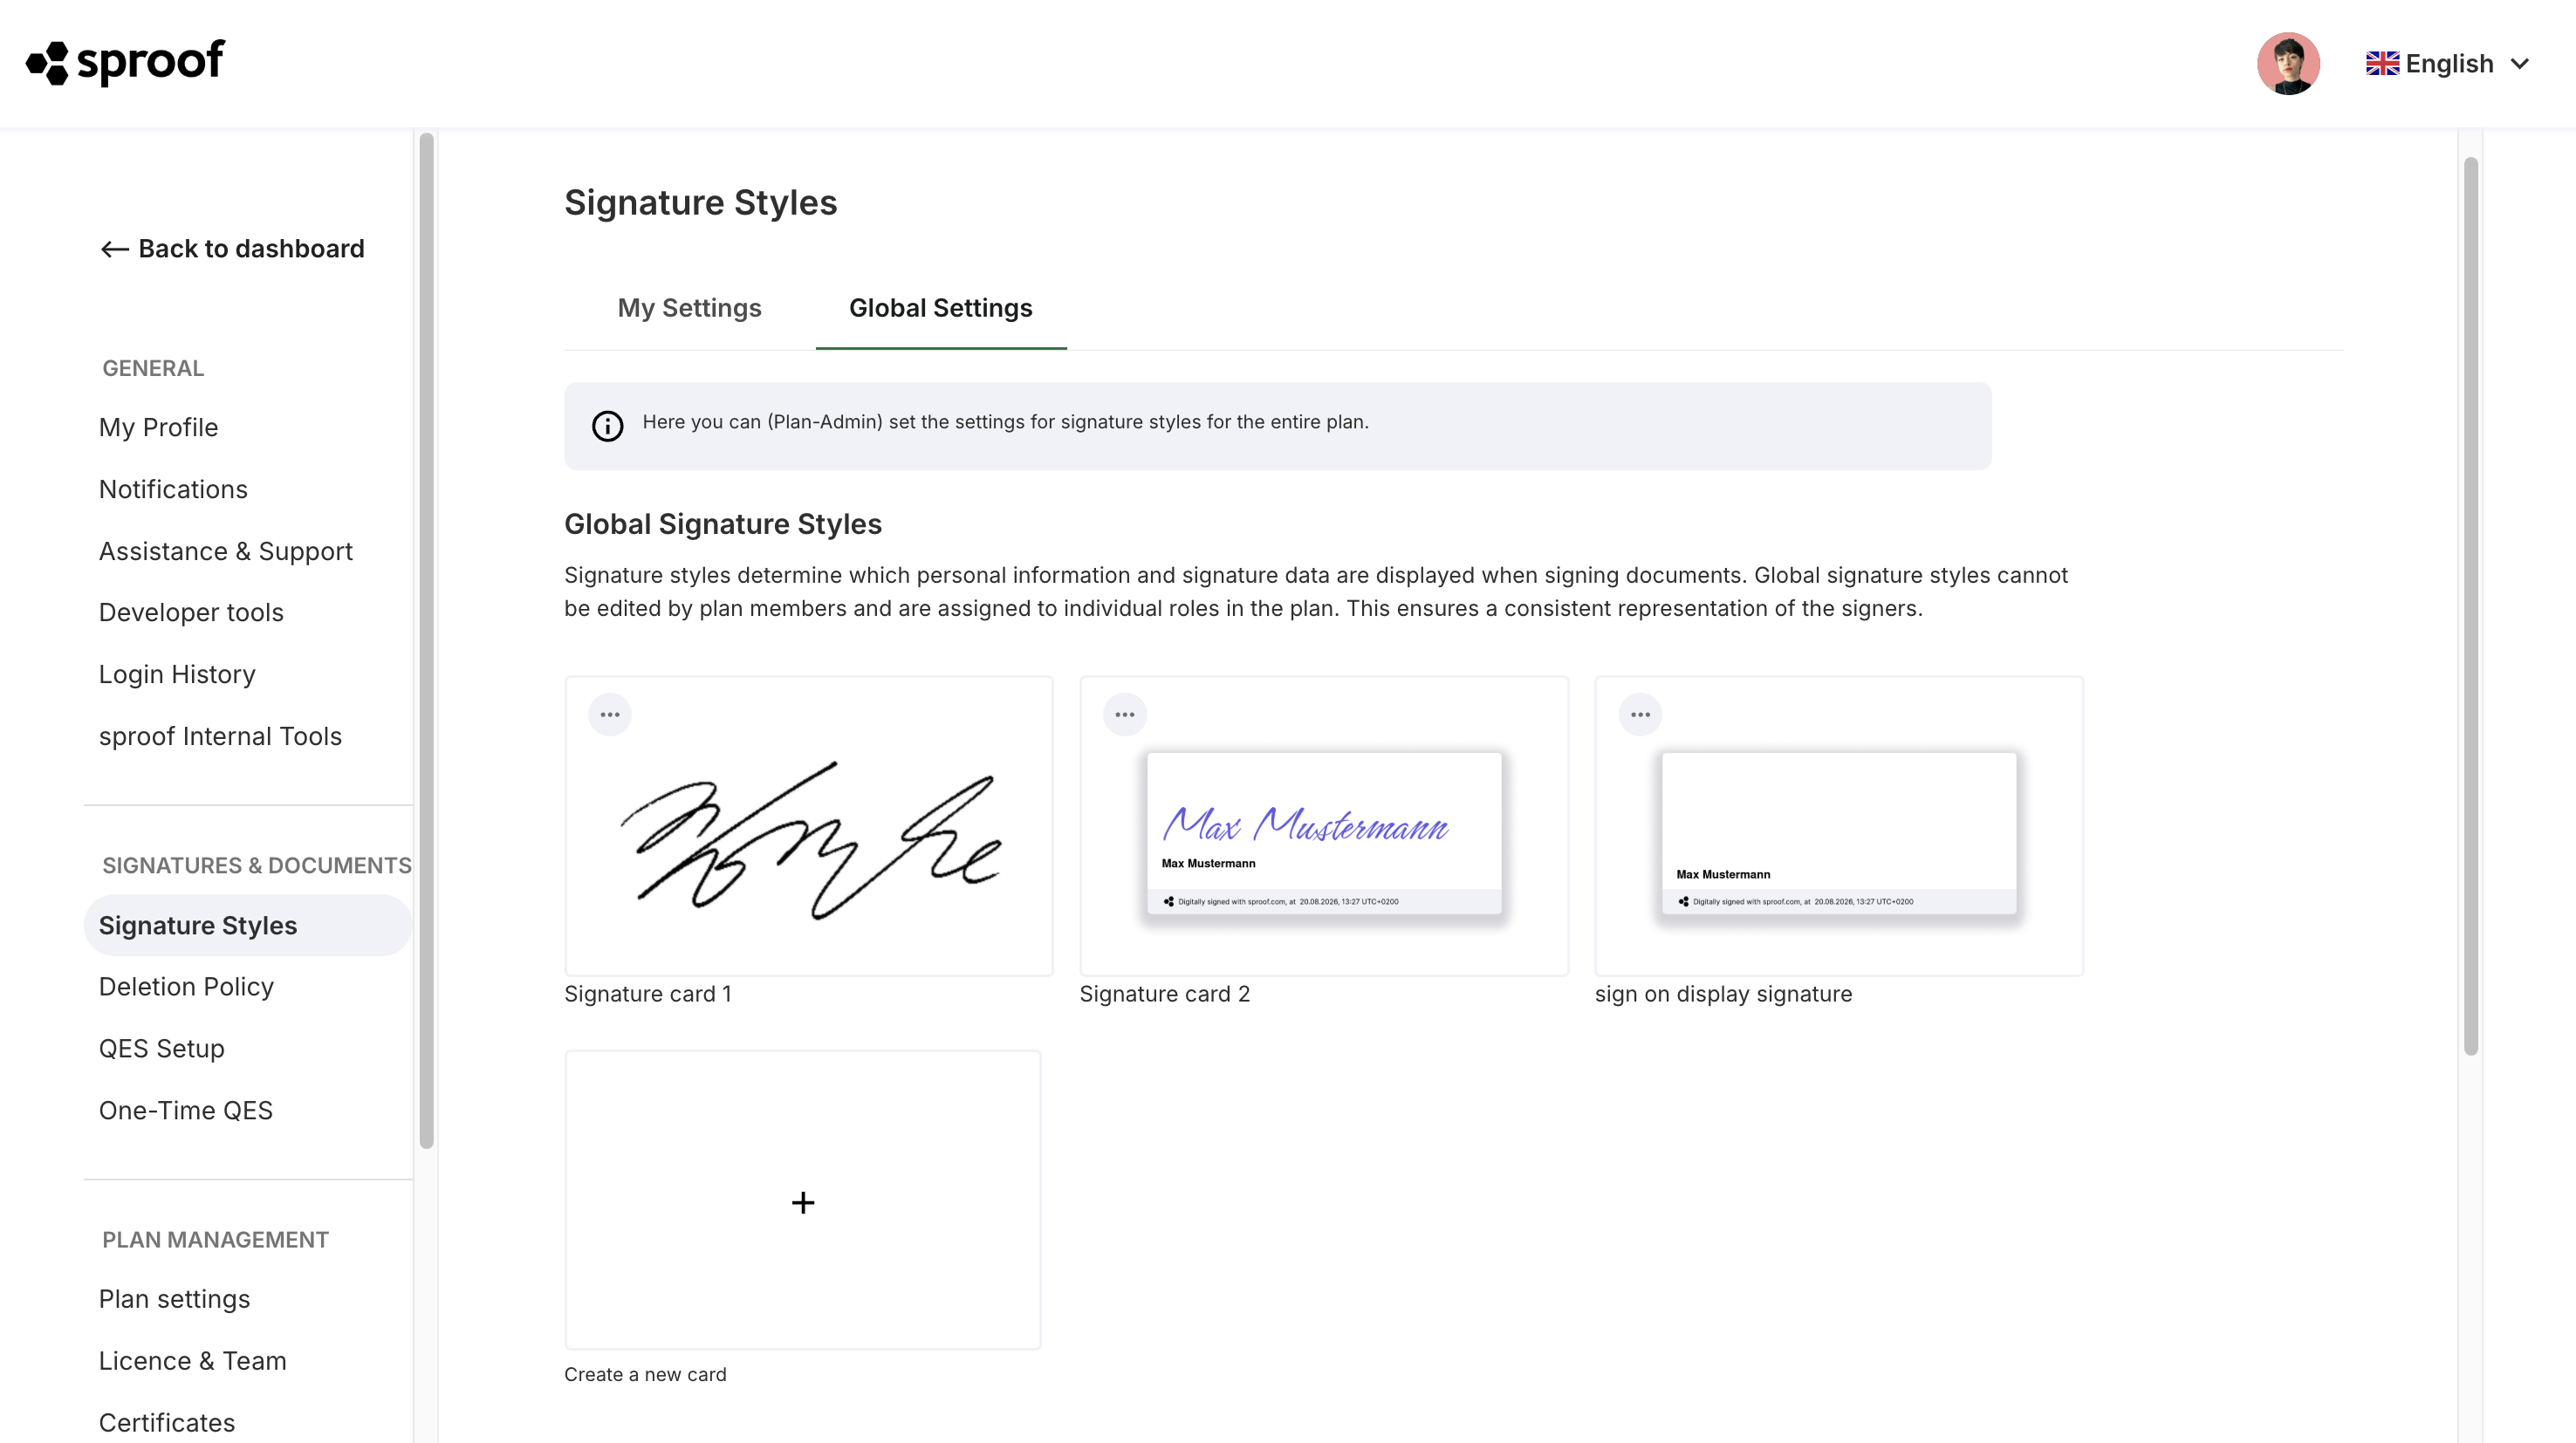
As an admin you have the option under Settings > Signature Styles > Global Settings to define global signature styles for your team. This ensures a consistent visual representation of signatures across the company. A signature style should not be confused with the signature type (EES, FES, QES).
→ More information can be found in the module “Global Signature Styles”.
All plan members can also change signature styles (including the global styles) under Settings > Signature Styles > My Settings. Learn more in the module “Create Signature Style”
Administrators of a plan can define global signature styles which can be assigned to plan members via the Rights & Role Management.
Branding
Under Settings > Branding with the Enterprise service you can adapt your sproof Sign account to your corporate identity (CI). This includes customizing logos, colors, email designs and the login area. You can also set plan-wide default texts for email subject and invitation text.
→ The exact instructions can be found under “Branding and Customization”.
Email Server Settings
To use sproof Sign with your own mail server, after activation by our team you can configure it directly under Settings > Custom Mail Server. After entering your SMTP credentials the setup will be reviewed and then approved. Please note that you then assume full responsibility for email sending and delivery.
→ The detailed instructions can be found in the module “Email Server Settings”.
OAuth for Callbacks
This feature can be found under Settings > OAuth for Callbacks. It allows you to configure the authorization headers for your callback URL. By creating a secret key the data transfer is secured. This key generates a bearer token that ensures the integrity of the data.
API Token Management
You can manage API tokens for your integrations under Settings > API Tokens to ensure secure communication between your systems and sproof Sign.
With sproof Sign you can track and analyze the usage of your API interface in detail. The key to this is the decentralized management of API tokens.
Instead of using a single master token for the entire account, authorized users or different systems (e.g., your HR tool and your CRM system) can generate their own individual API tokens.
Every request made with a specific token can be clearly assigned to it. This enables differentiated analyses.
→ Get more information in the module “sproof Sign API: Getting Started”.
Fastlane
To use Fastlane, this feature must be enabled in your user plan.
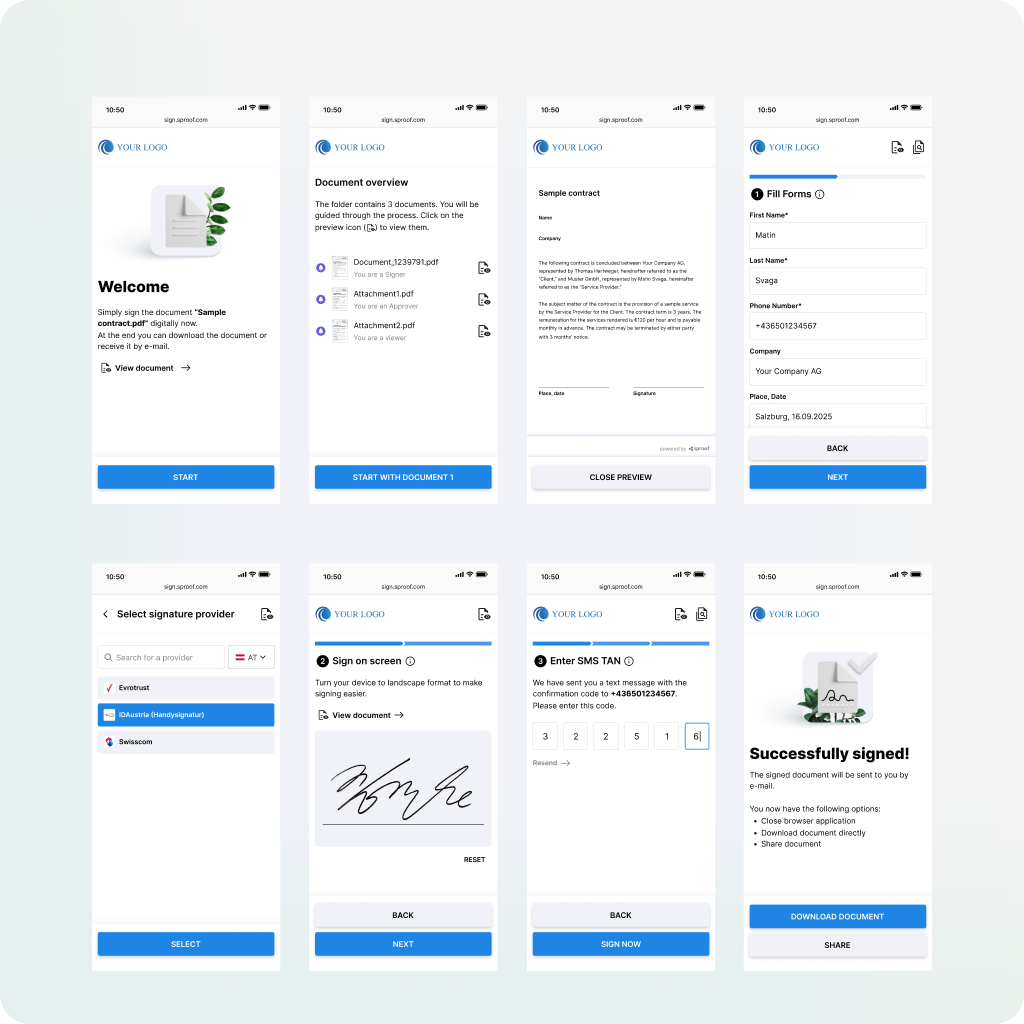
Fastlane is a feature that allows recipients to sign your documents with just a few clicks on their mobile device without navigating through a complicated process. As an admin you can release templates that can be shared via a link, QR code or email. Recipients can then quickly sign these templates via a simplified view.
Fastlane offers a guided, step-by-step flow that greatly increases efficiency and user-friendliness for your recipients. You can customize and configure the entire signing process individually by creating a Fastlane profile.
More details can be found in our module “Fastlane UI”. For developers the module “Obtaining Signatures via Fastlane (API)” is available.
Here is an example user journey:
On-Site Signature
Through sproof Sign customer support a quota can be enabled so that all members of the plan have access to the on-site signature and can use it for invitations to documents. The on-site signature feature allows senders to have documents signed by recipients on the sender's device.
This feature uses only Simple Electronic Signatures (SES). Senders can configure recipients for in-person signing in the recipient settings. This allows the feature to be seamlessly integrated into existing workflows and adjusted even after sending.
Synchronization of Microsoft Outlook Contacts
In the settings of sproof Sign you can start the synchronization of your personal Microsoft Outlook contacts. Prerequisites for this are a login with your Microsoft account and a one-time approval by an administrator in Entra ID so that sproof Sign receives the necessary read permission. After you manually start the first synchronization, the sync takes place automatically every night to keep your contact list up to date. Please note that this function applies only to your contacts and plan contacts are not supported. It is also important to know that contacts must be deleted directly in Outlook, otherwise they will reappear in sproof Sign during the next synchronization.
→ A detailed guide can be found in the module Microsoft Entra ID 👑
Plan Statistics
Plan statistics are available after activation in your user plan under License & Team > Download Plan Statistics as a CSV export. This allows you to obtain a detailed picture of issued signatures.
Upload Your Own Certificates
Under Settings > Certificates you can, if you already have a valid certificate (e.g., from a QTSP – Qualified Trust Service Provider), upload it independently to your plan. These certificates are digital IDs that uniquely confirm the identity of the signer. In a corporate context this technology is referred to as a company seal (SEAL) and can be flexibly released by you as a plan administrator for the entire team or for individual employees. This certificate is available as an additional signature style and is applied exclusively to advanced signatures.
Certificates can be obtained directly via sproof. Simply contact our customer support for this.
→ For more details our module “Company Seal & Certificates” is available to you.
Synchronization with Microsoft Entra ID
Microsoft Entra ID synchronization automates the alignment of members between sproof Sign and your Entra groups so that additions and removals can be centrally managed.
The system automatically removes users when they leave the Entra group and warns of conflicts caused by duplicate assignments. Activation by customer service is required to use this feature.
→ Learn more in the module Microsoft Entra ID 👑