

📑 Step-by-step guide
Setup
-
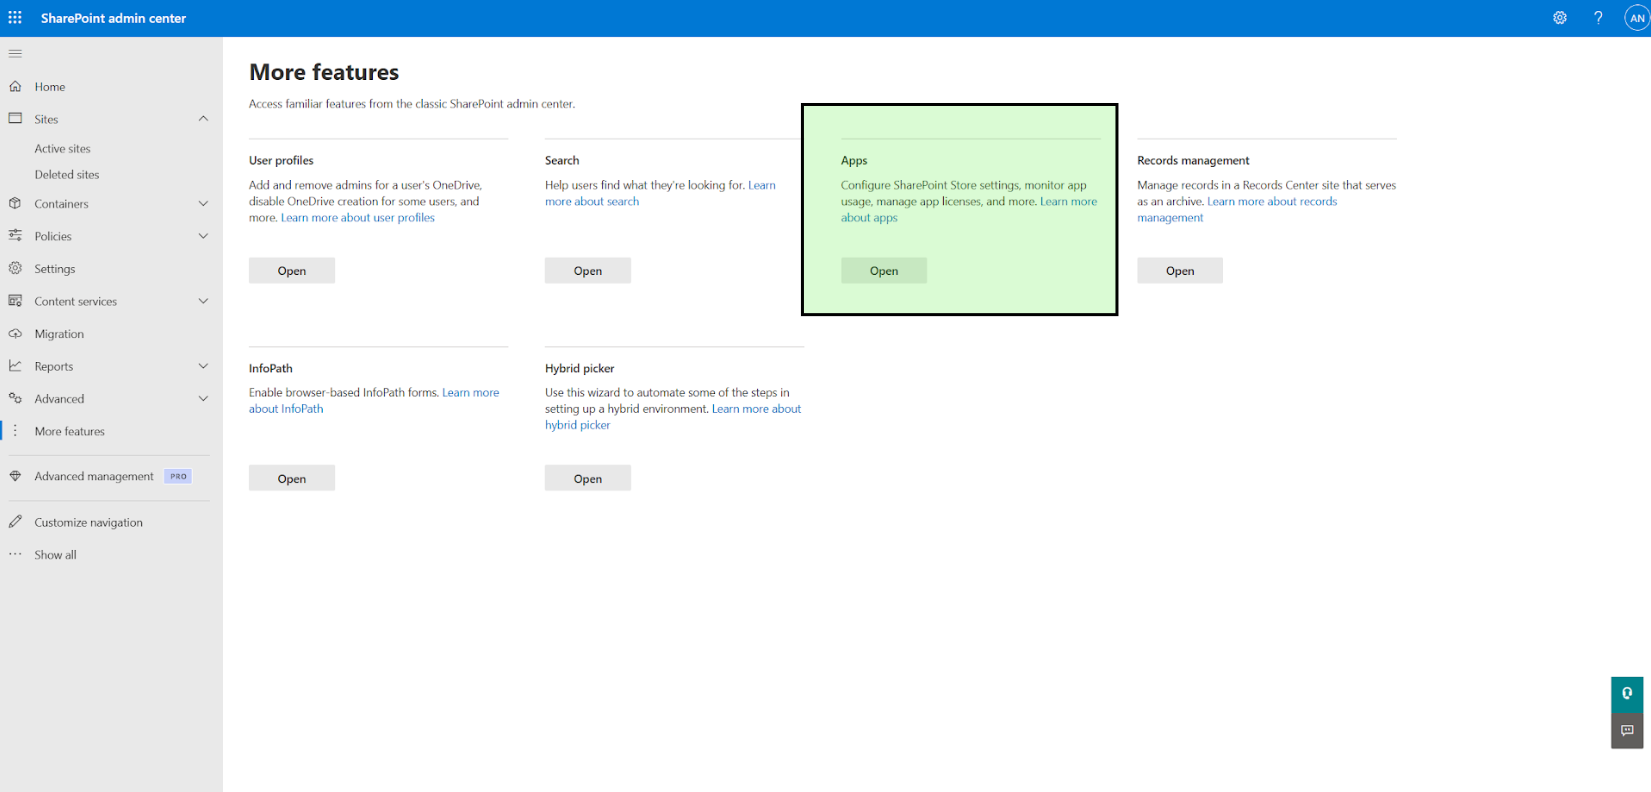
The release is done via the Sharepoint Admin Center, "Apps".
-
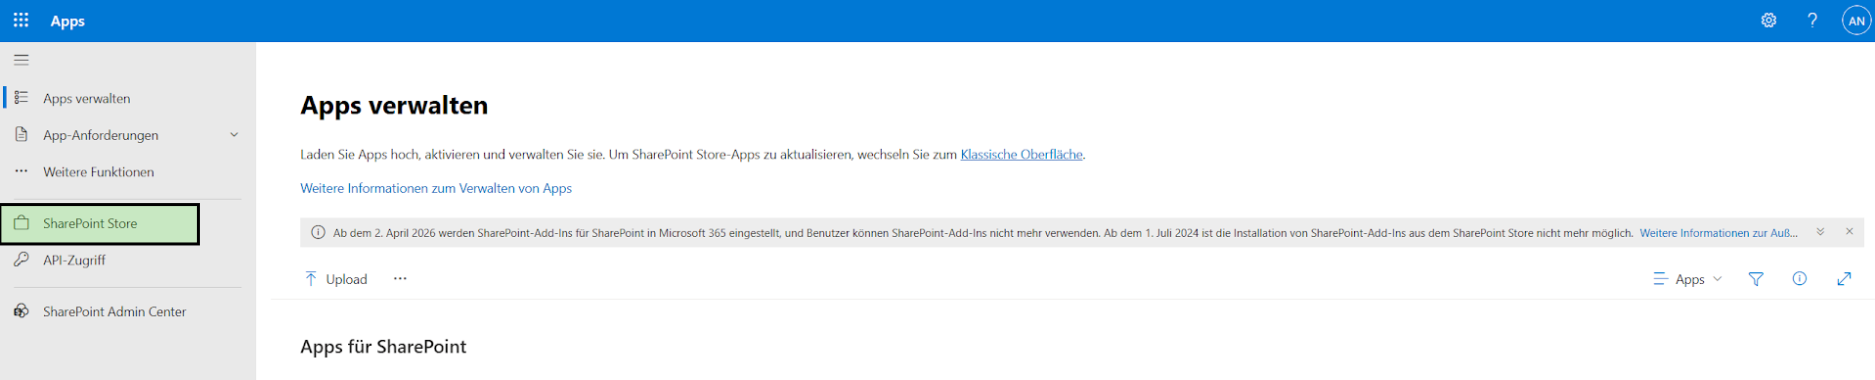
Navigate to the Sharepoint Store.
-
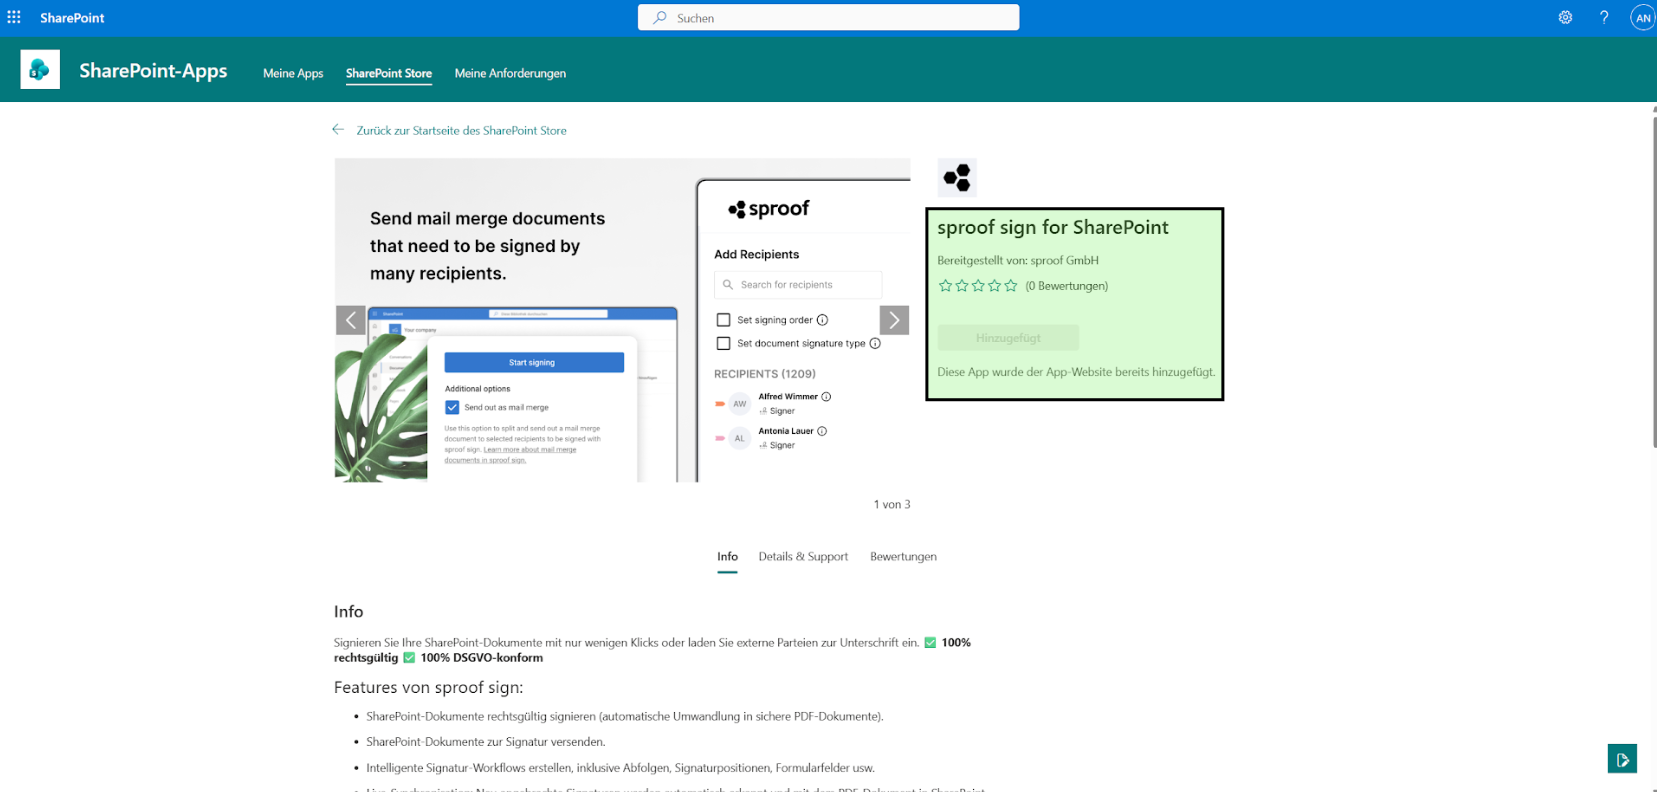
Search for sproof Sign and add it.
Sign documents with sproof Sign
Video tutorial:
-
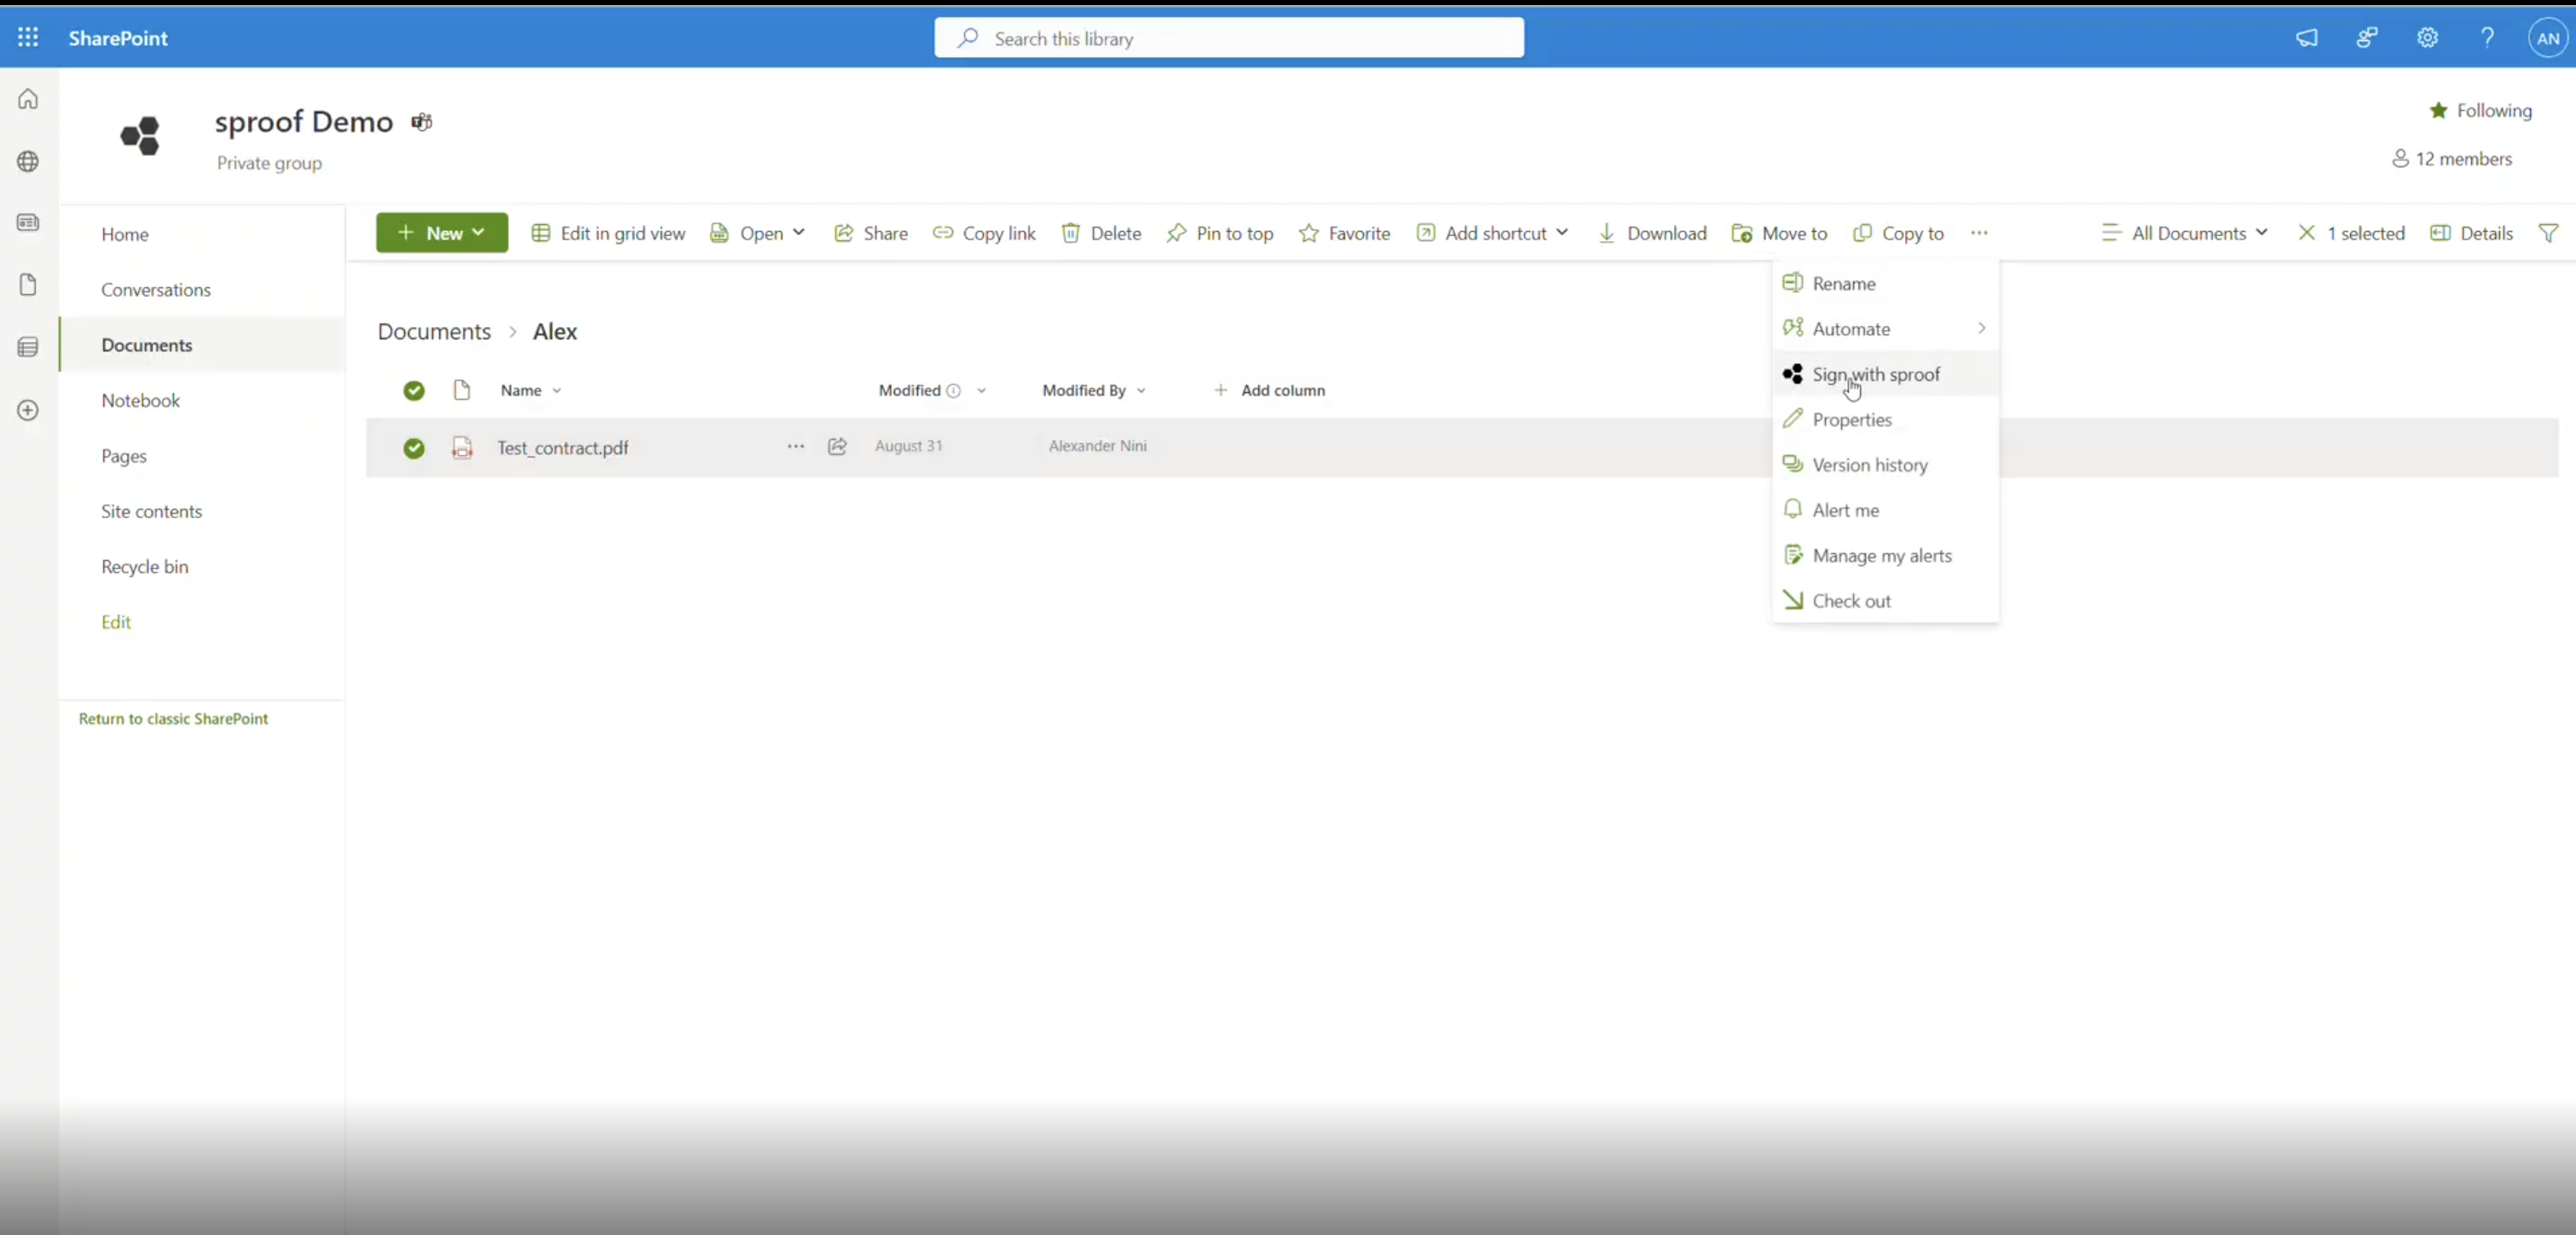
Select the document in the list that you want to sign.
-
Click the three-dots icon (More actions) in the top bar. Choose the option "Sign with sproof".
-
A sidebar opens on the right. In the sidebar, click the "Start now" button.
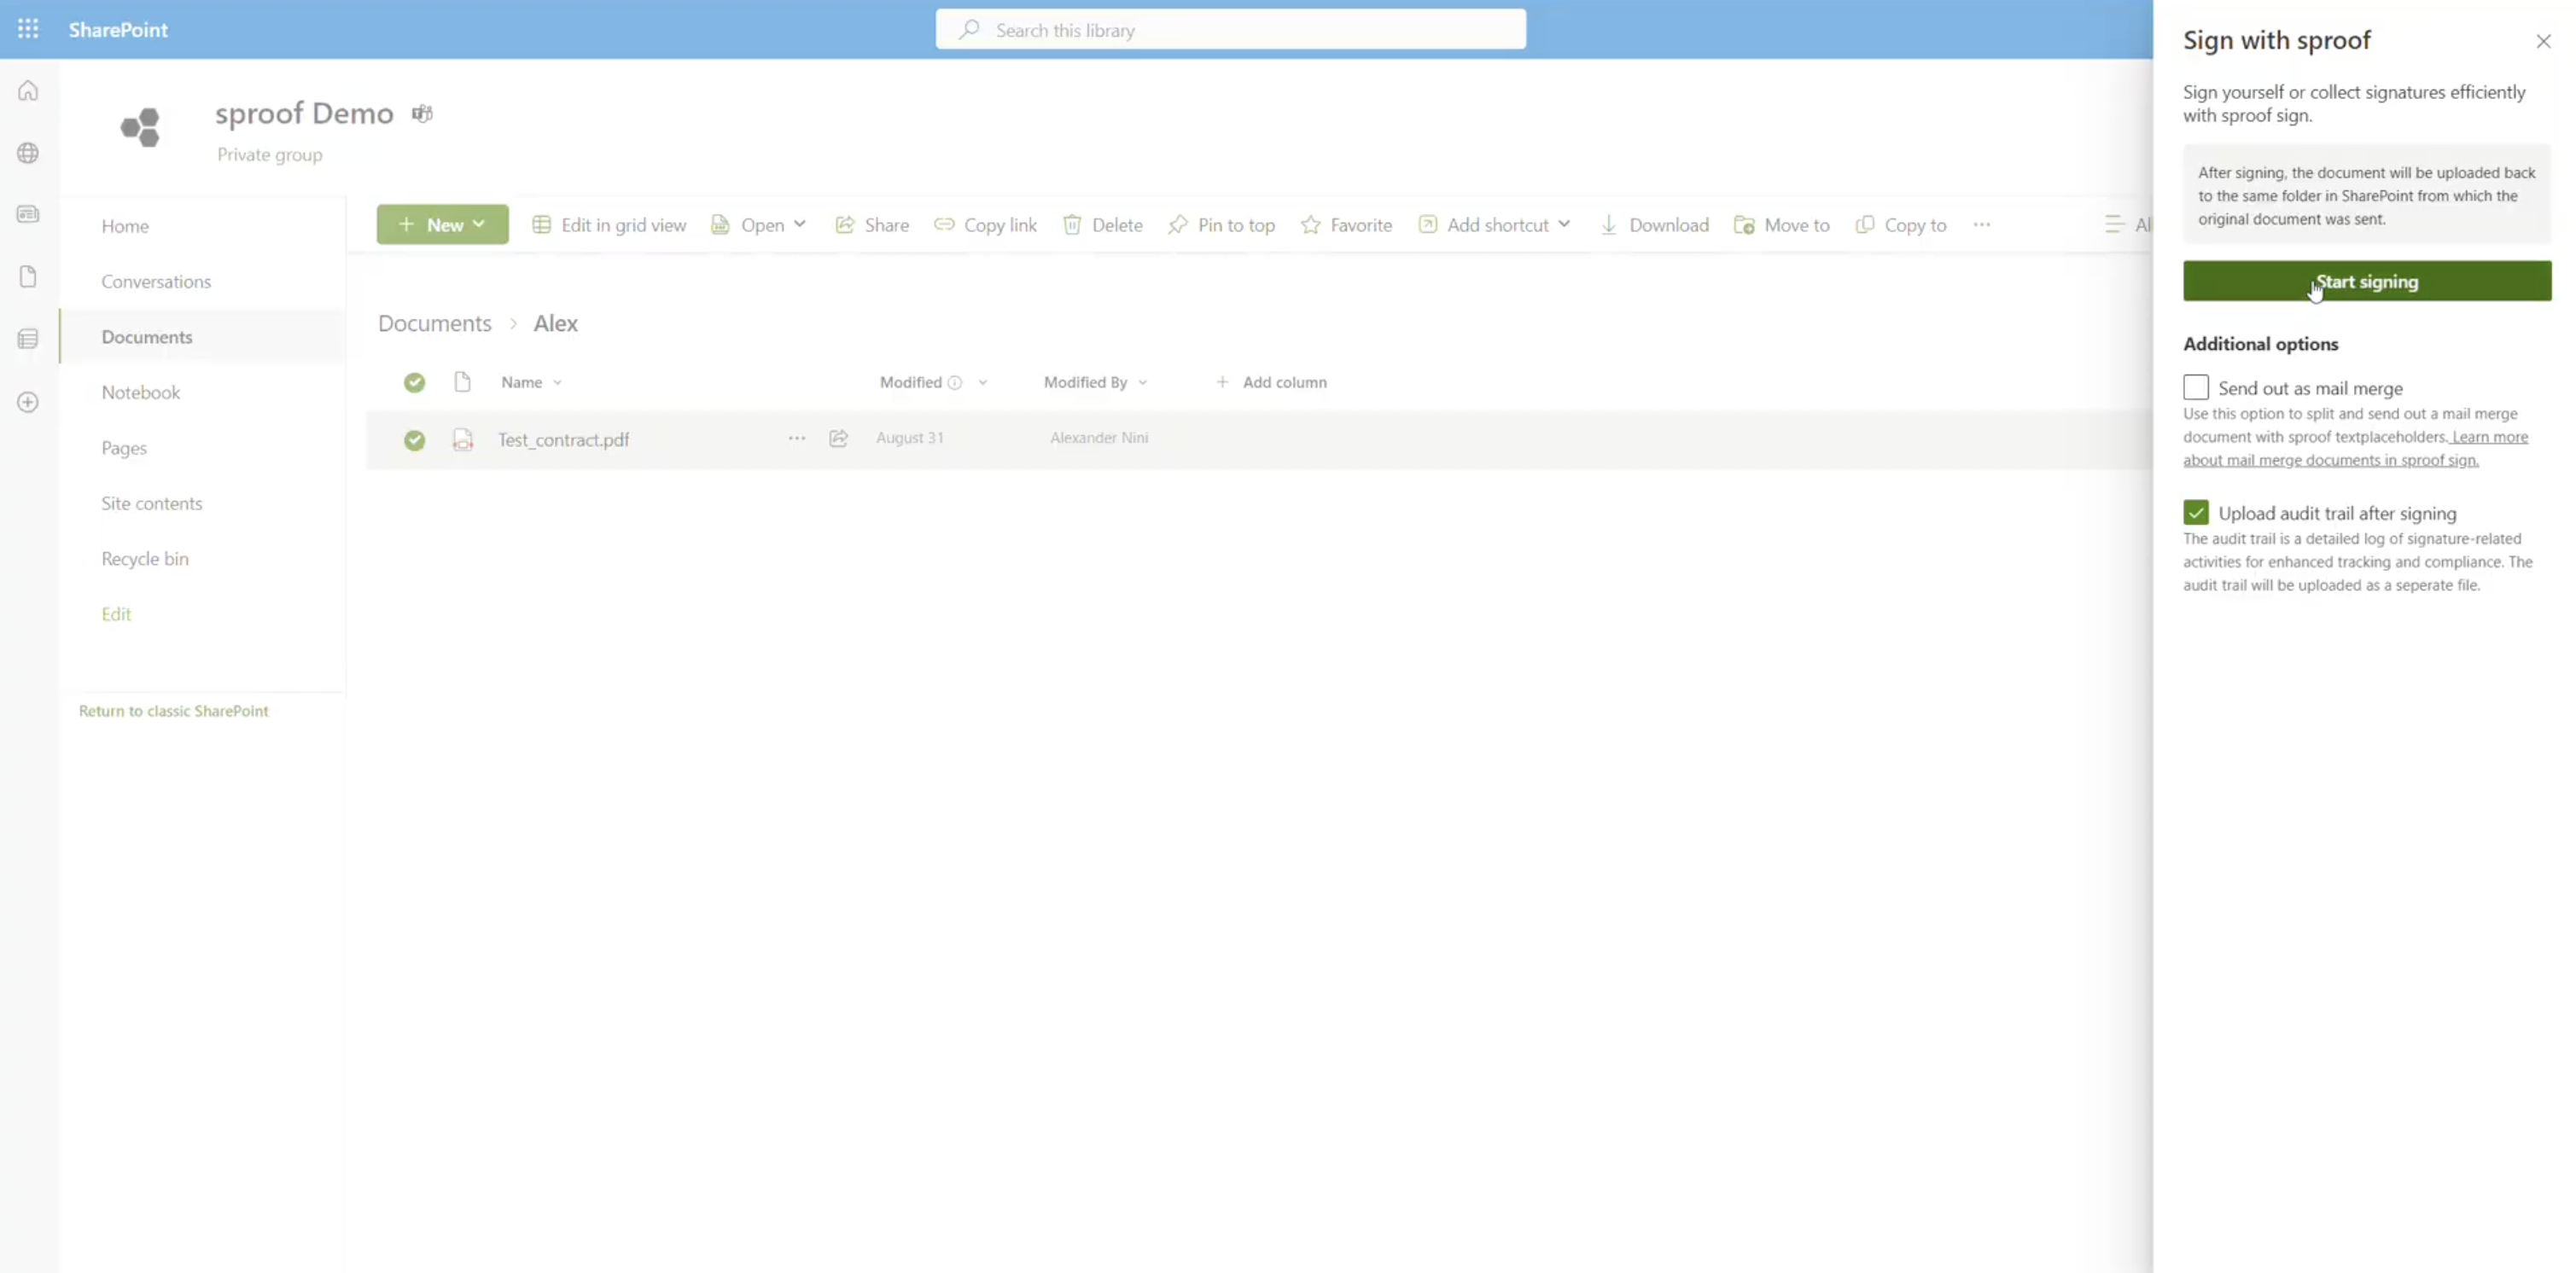
-
sproof Sign opens. As usual, choose your signature type and style and place your signature card. Complete the process by clicking "Sign now".
-> In the module Sign Yourself, Approve, View you will find a detailed guide. -
After successful signing, the signed document will be automatically saved in the original SharePoint folder.