

👑 Enterprise Feature
Would you like to use this feature? Please contact us to activate it!
📧 Contact: support@sproof.com
🤝 We look forward to your inquiry!
💡 At a glance
With the new features in the "Assistance & Support" area, collaboration in sproof Sign becomes even easier.
The assistance feature allows administrative tasks to be securely delegated to other plan members without sharing login credentials. In addition, plan members can designate administrators of their plan as internal support to receive quick help with questions or issues. If you need assistance from the sproof team, support requests can also be created directly via the "Assistance & Support" area in sproof Sign.
📑 Step-by-step guide
Assistance feature
The assistance feature enables the secure delegation of administrative tasks within sproof Sign to plan members without needing to share login credentials.
Security is ensured by two-factor authentication via email on each access and an automatic session termination after one hour. To avoid confusion, the assistance mode is visually highlighted by an orange user interface.
There is a strict separation of authorities: assistants can perform administrative preparation work, but may never sign on behalf of the delegating person. That step remains exclusively reserved for the account holder to preserve legal validity.
Important:
-
A prerequisite for use is that both parties, i.e., the assistant and the assisted person, hold a User+ license.
-
Admins can be defined as assistants, but they cannot themselves assign assistants.
-
This is an Enterprise feature. Activation is done individually upon request through our Customer Support contact@sproof.com
Video tutorial
Our product experts Philipp Gernerth and Alexander Nini guide you through the new feature in the video tutorial and show concrete use cases.
Add assistant
-
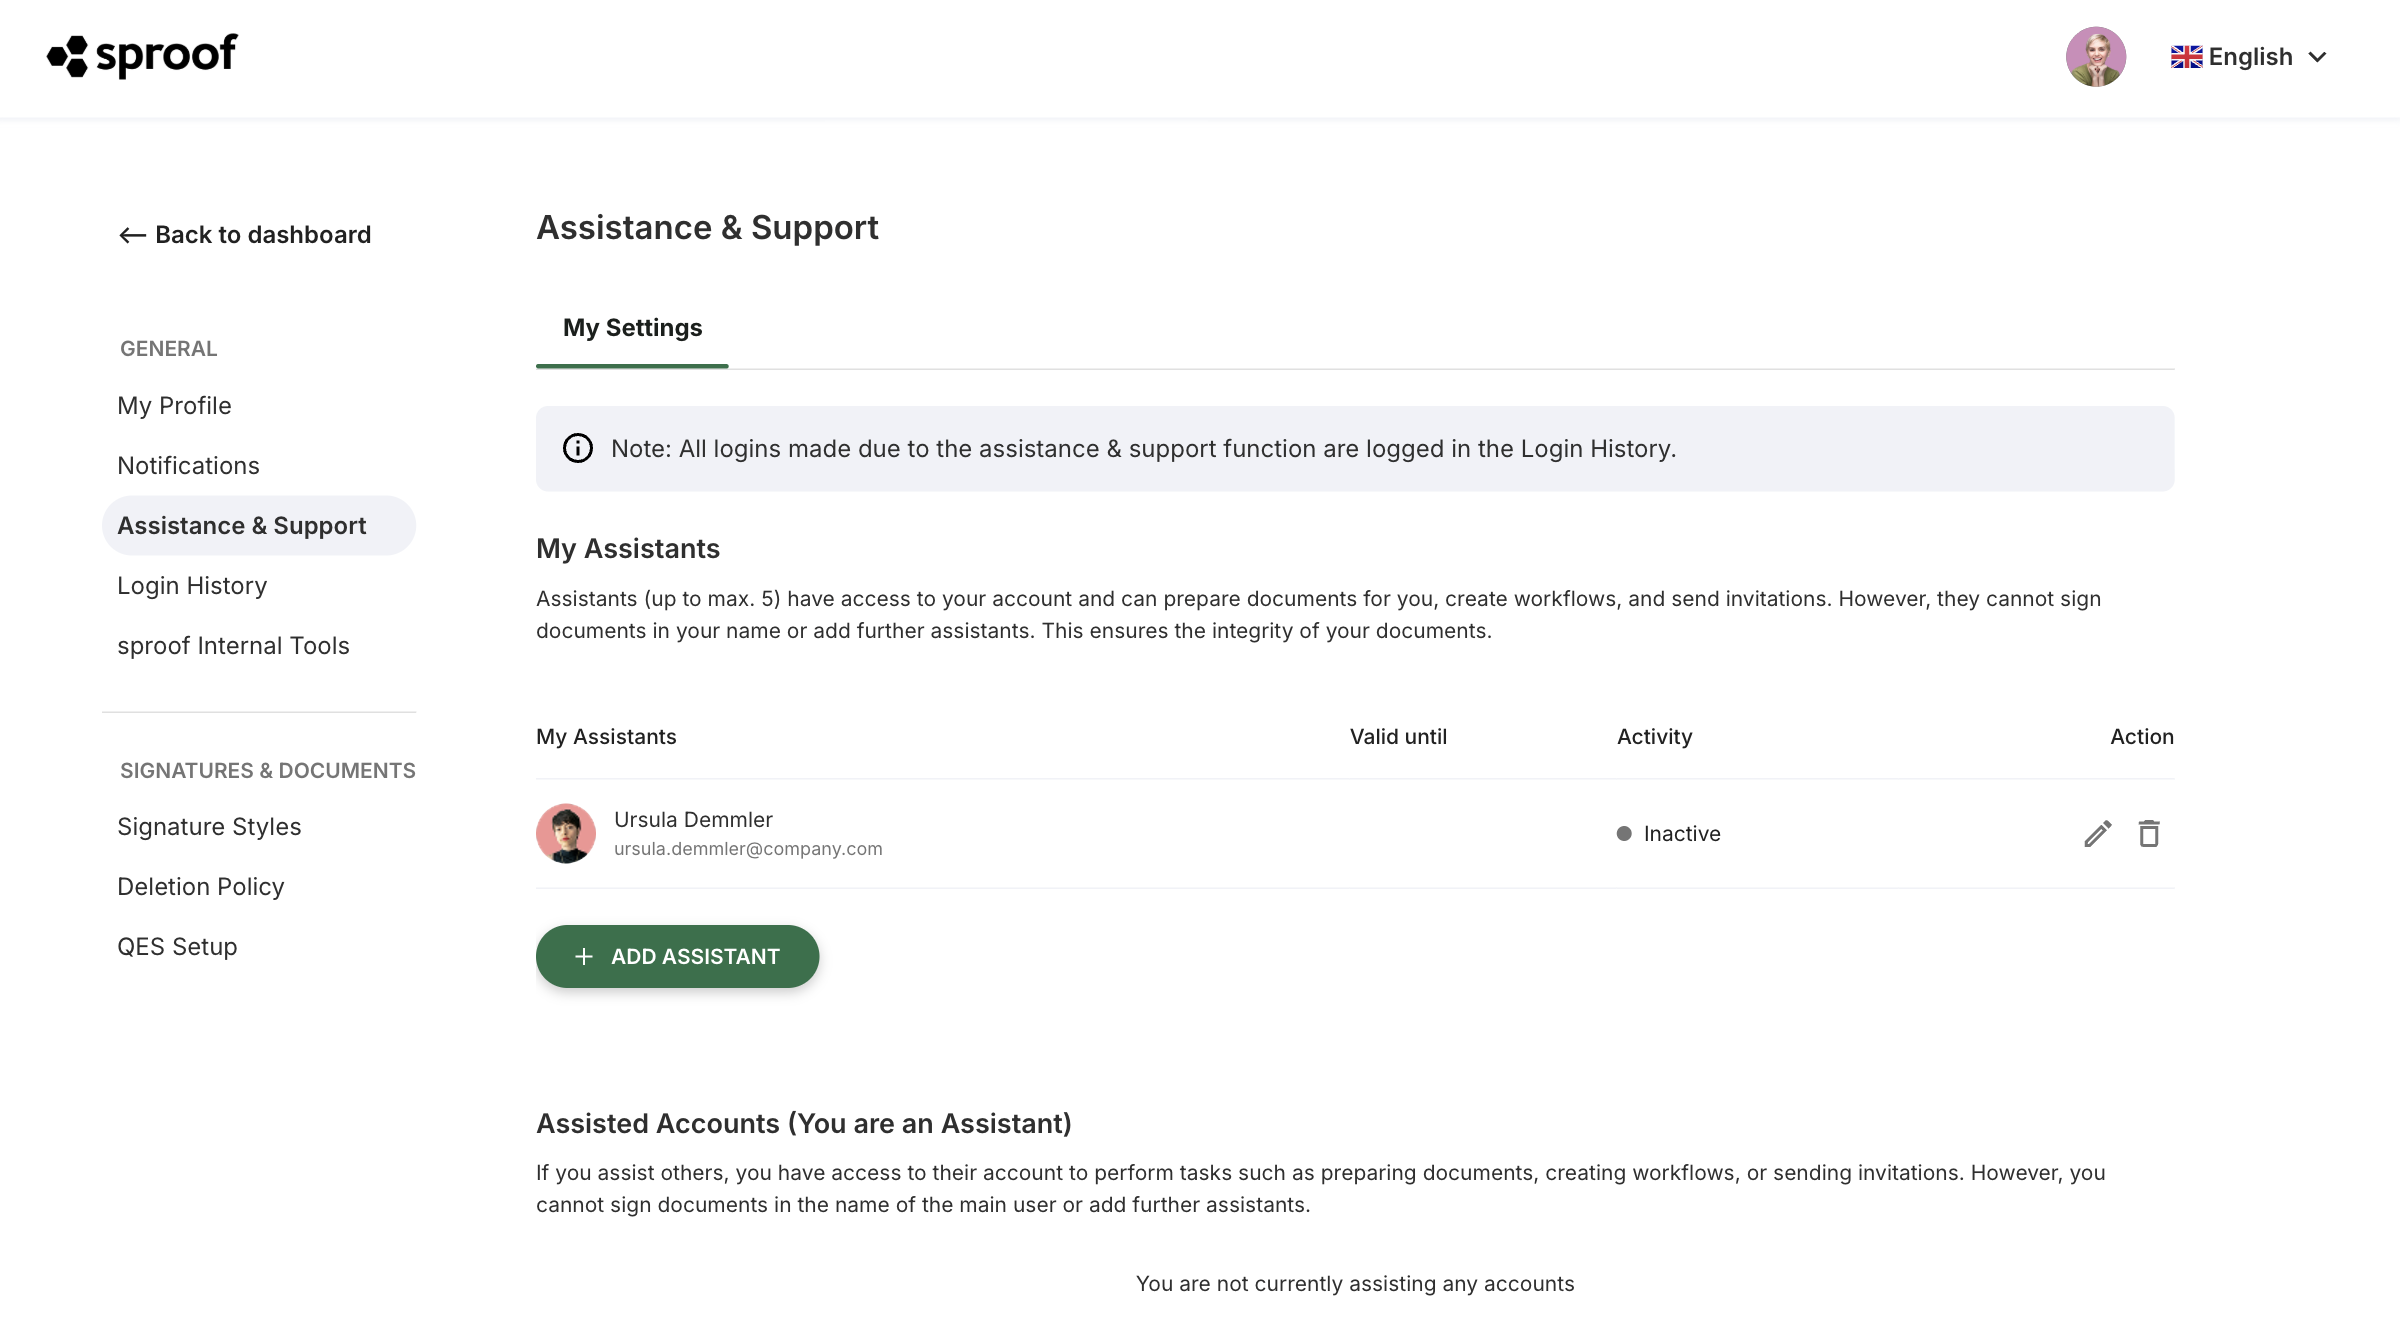
In your dashboard, navigate to the bottom left to Settings and select the "Assistance & Support" menu item.
-
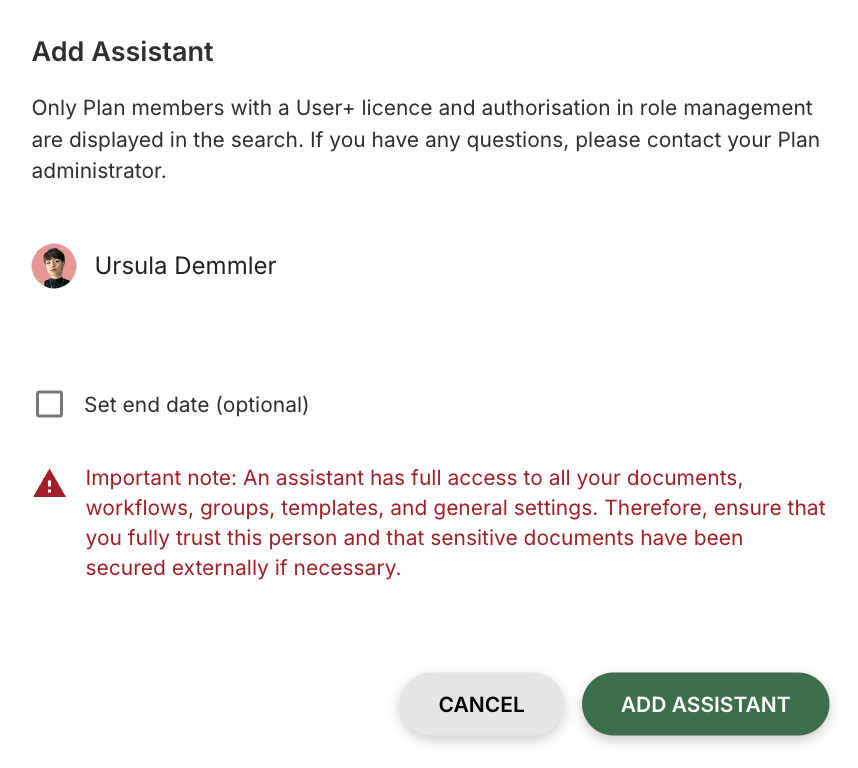
Click the "Add assistant" button to open the configuration window.
-
Enter the name of the desired plan member.
-
Optionally, you can set an expiration date on which the access rights will automatically expire.
-
Confirm the action. The person will now appear in your list and can be edited or removed at any time.
A maximum of 5 people can be listed as assistants.
Switch to assistance mode (for assistants)
-
Click your profile picture in the top right corner of the navigation bar.
-
In the menu that appears, select the account you want to support.
-
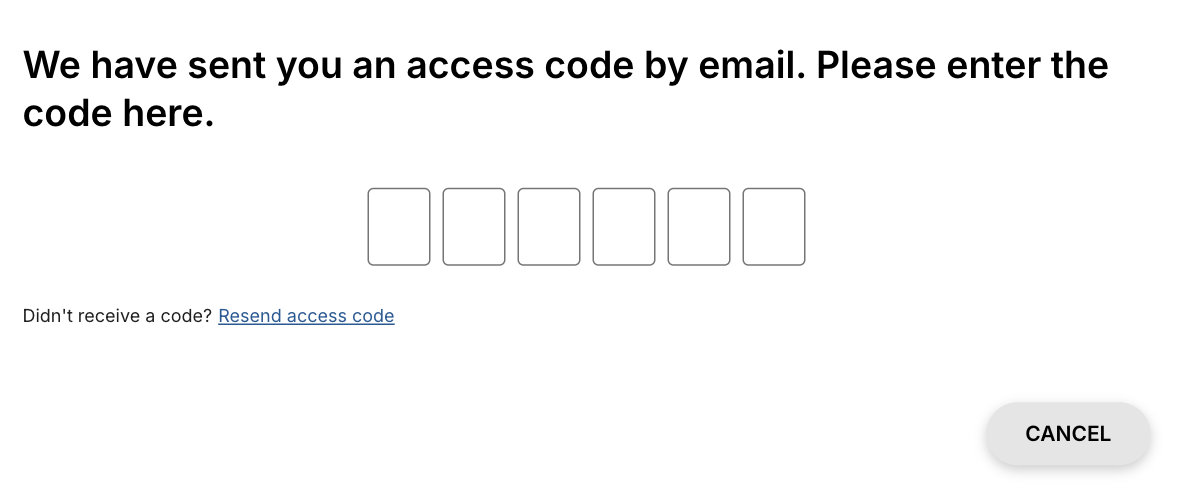
For security reasons, an access code will be sent to you by email. Enter this code in the input field to start the session.
Working in assistance mode
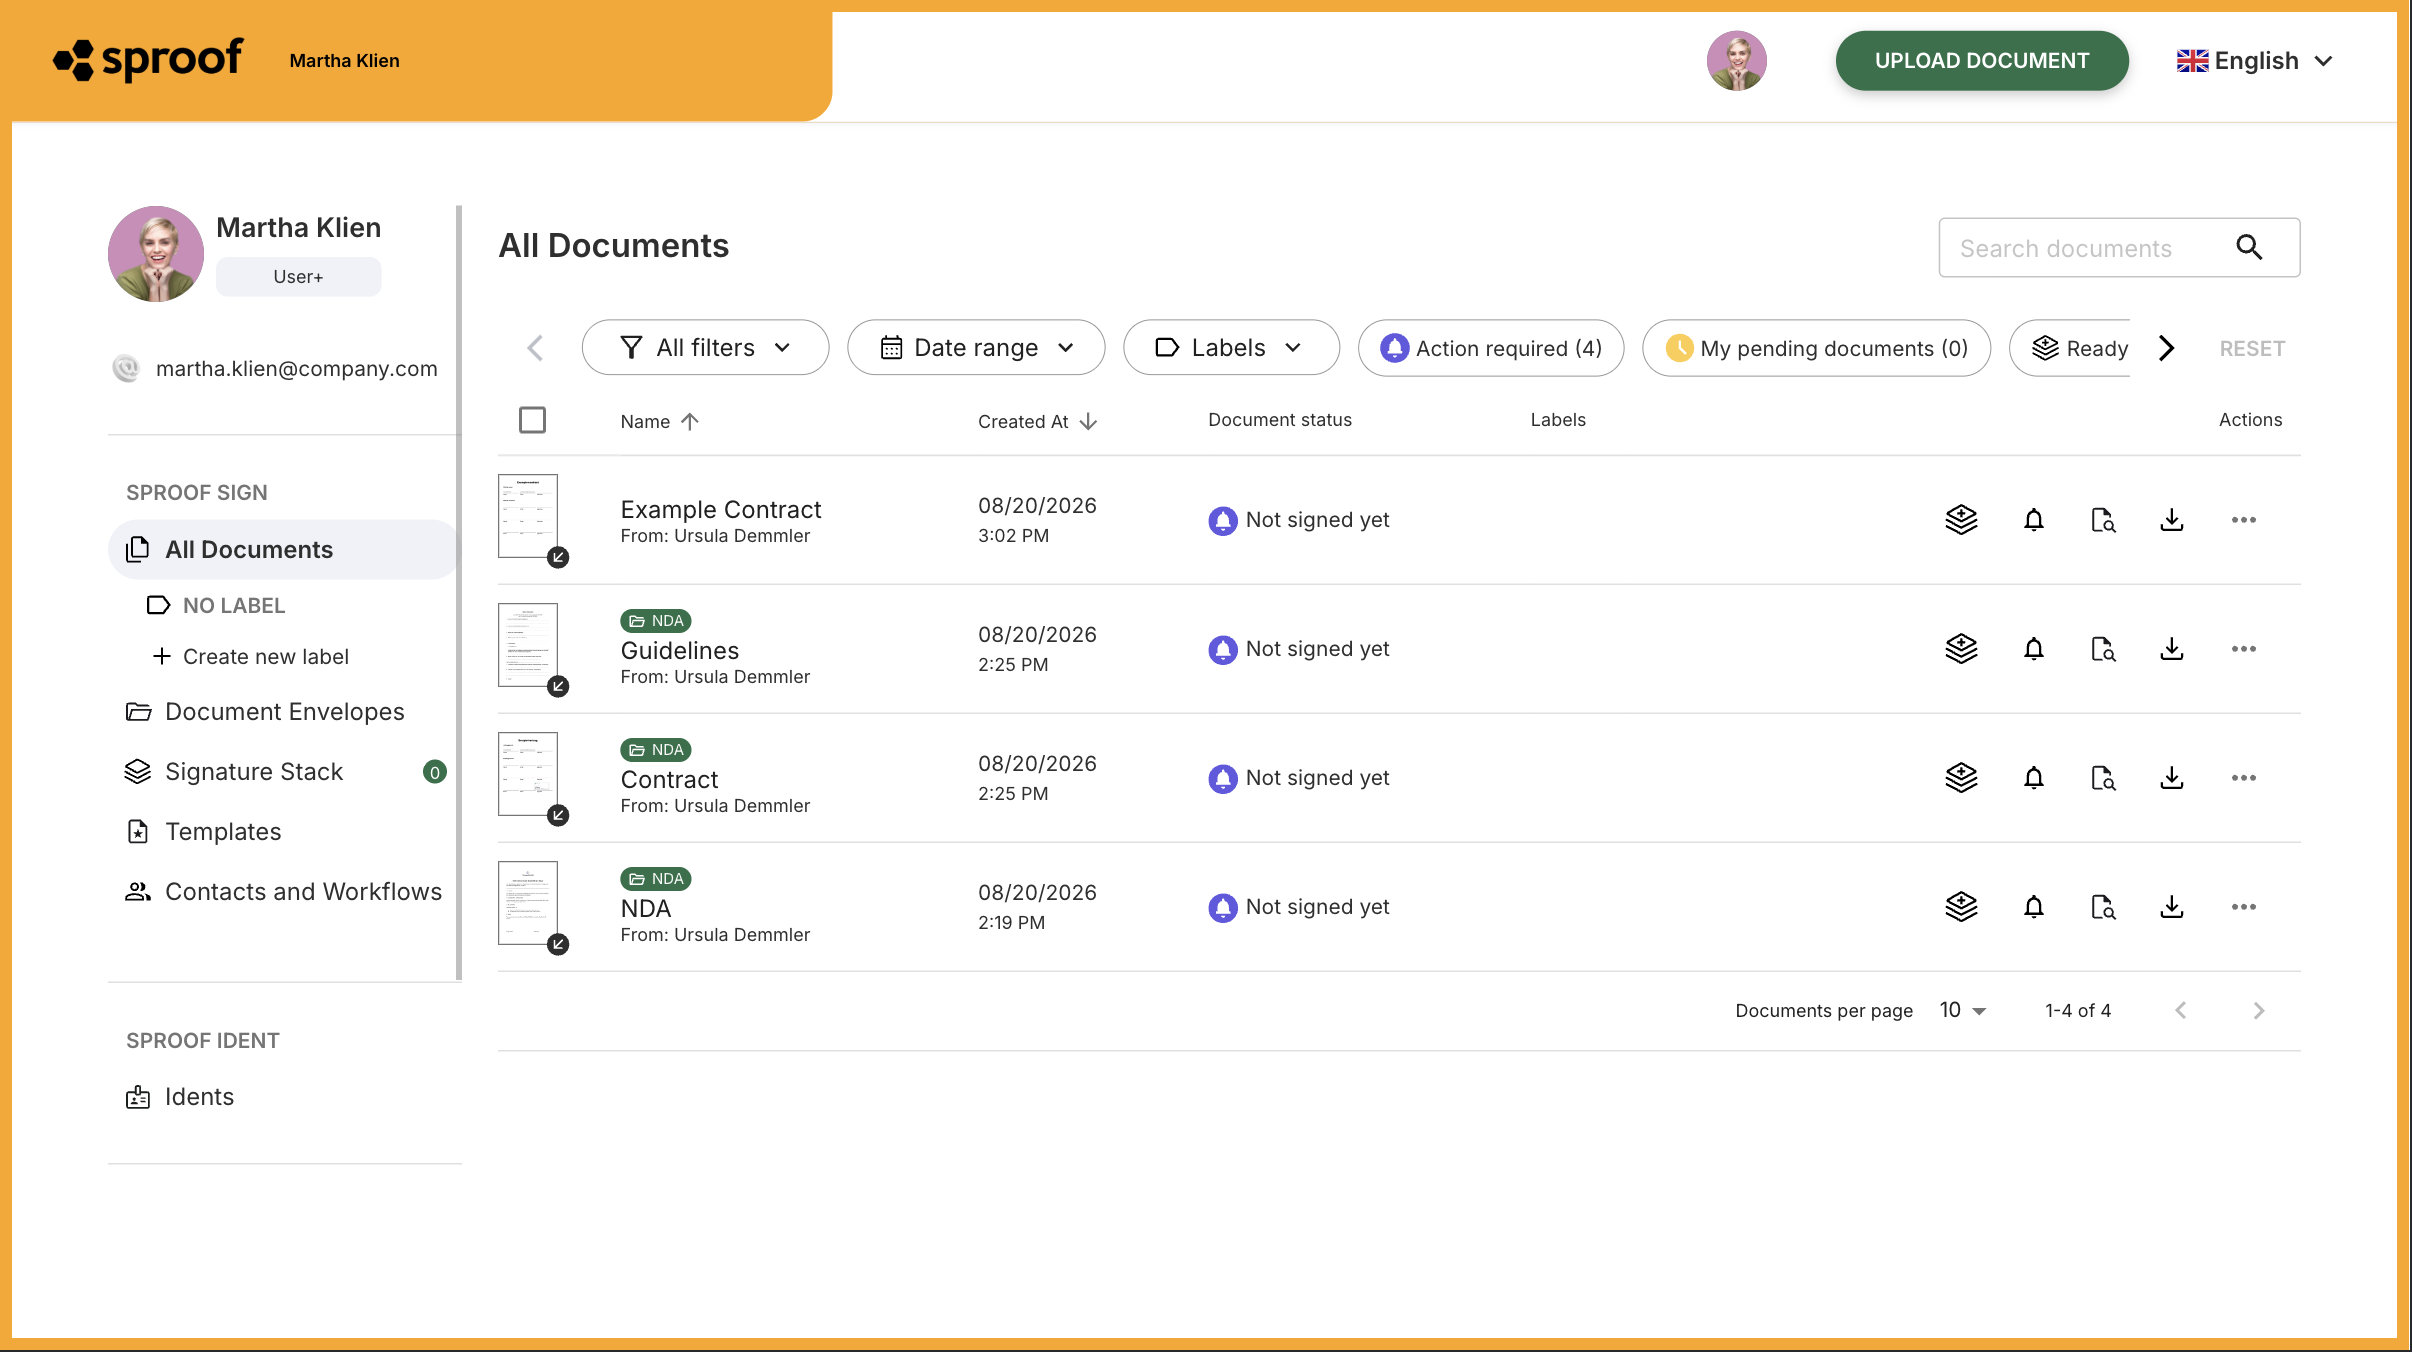
Once the mode is active, the appearance of sproof Sign changes. An orange border and an information panel with the text "You are assisting: [Name]" continuously indicate that you are not working in your own account.
You can now prepare documents and send invitations. Signing documents is technically blocked in this mode. The session will automatically end after one hour of inactivity.
End session and review
To return to your own account, click the "End assistance" button at the bottom left or in the profile menu. A direct switch between different assisted accounts is not possible; the current session must always be ended first.
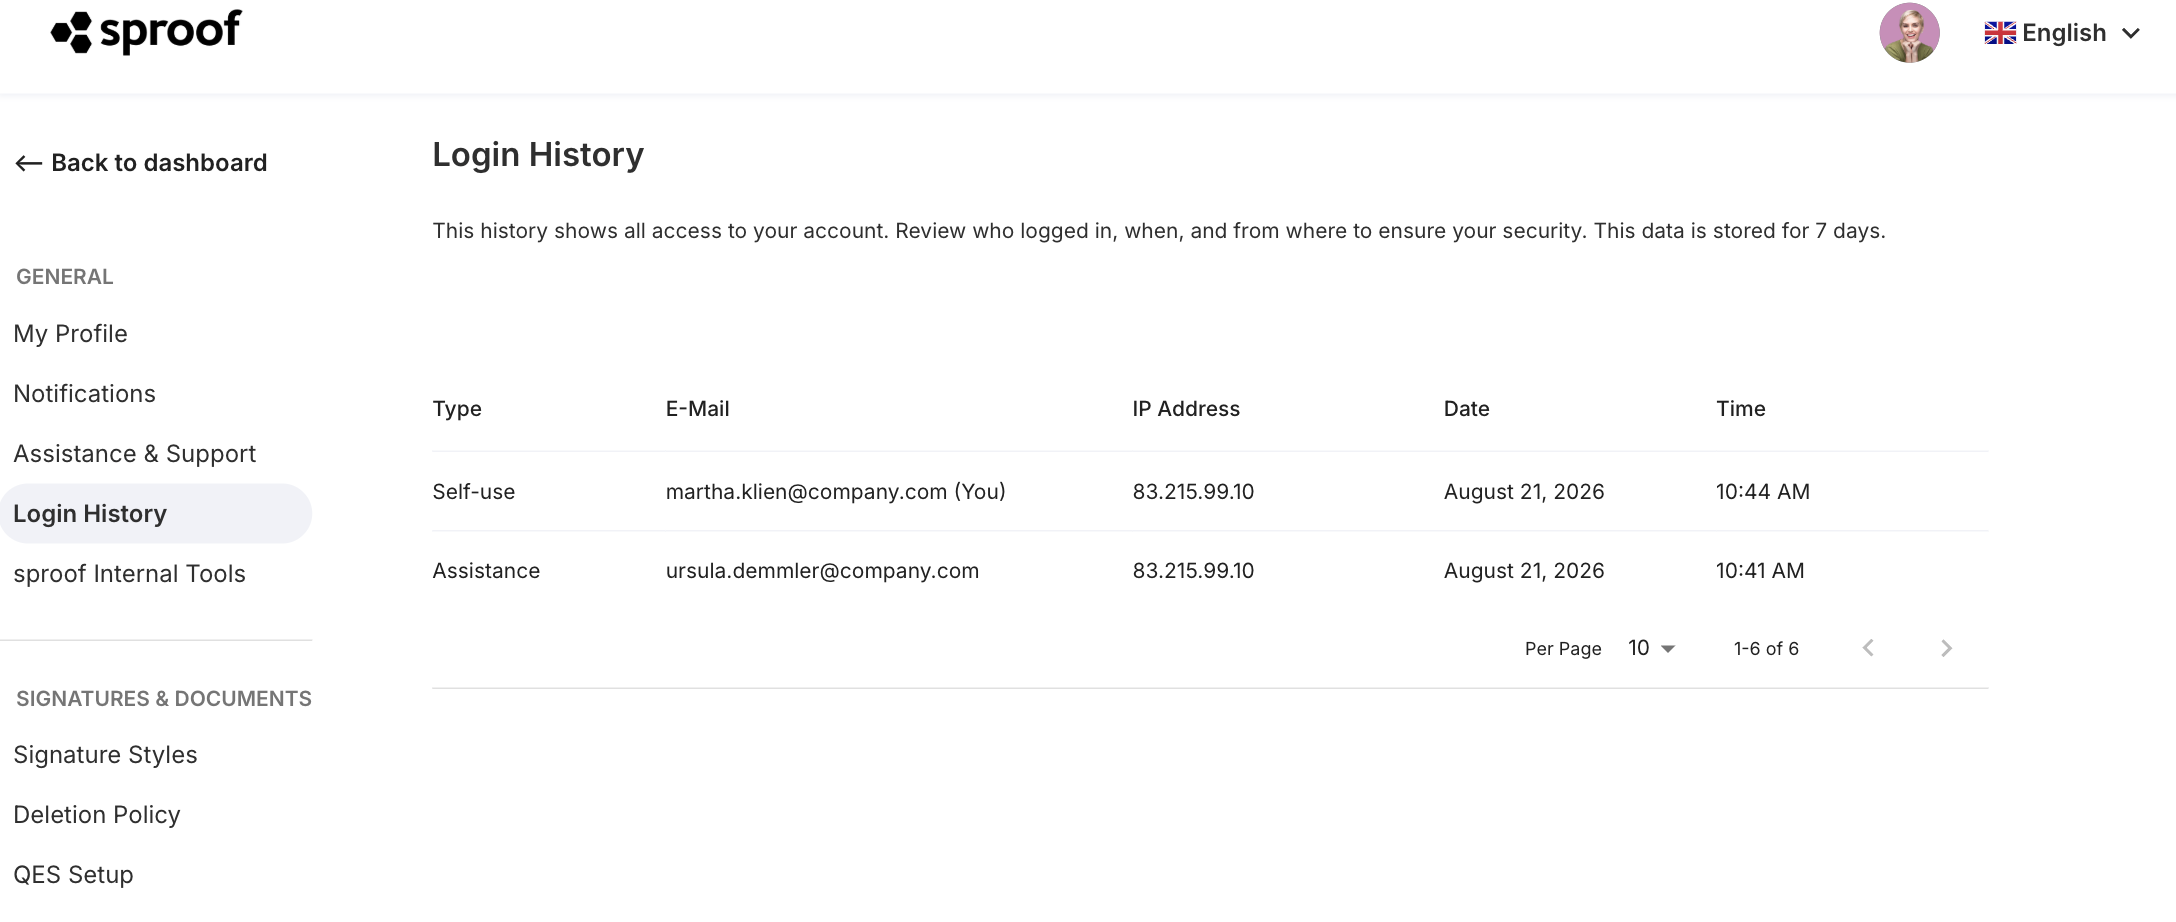
All actions are logged. In the "Login History" area in Settings, you can view at any time when and by whom an access to the account occurred.
Internal Support
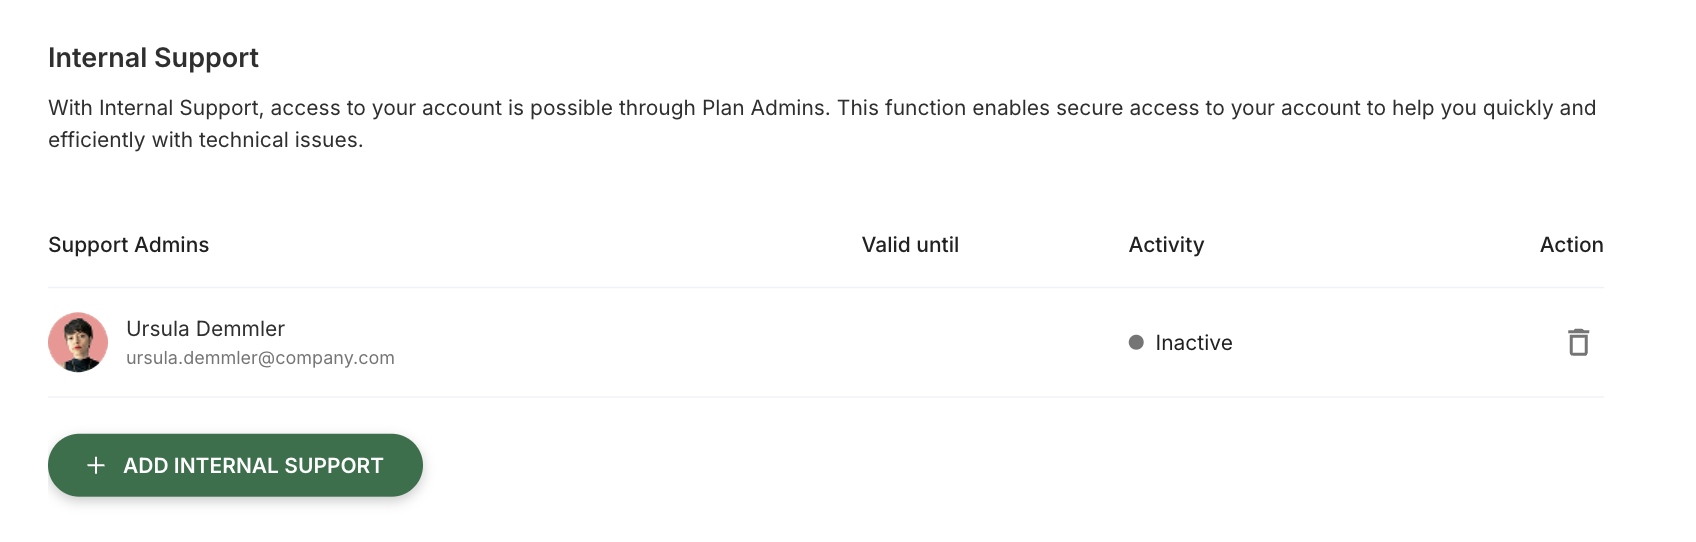
Plan members can designate administrators of their plan as internal support. This allows admins to provide even faster and more targeted assistance with questions or problems.
Adding internal support is done—analogous to adding assistants—via the corresponding button and the dialog window that opens afterward.
sproof Support
Support requests can be created directly via the “Assistance & Support” area in sproof Sign.
